These are instructions for a driver to follow to add their home charge box to their Northe account for home charging.
You will need access to:
- Your PC
- The Northe User portal (https://northe.app/account/login)
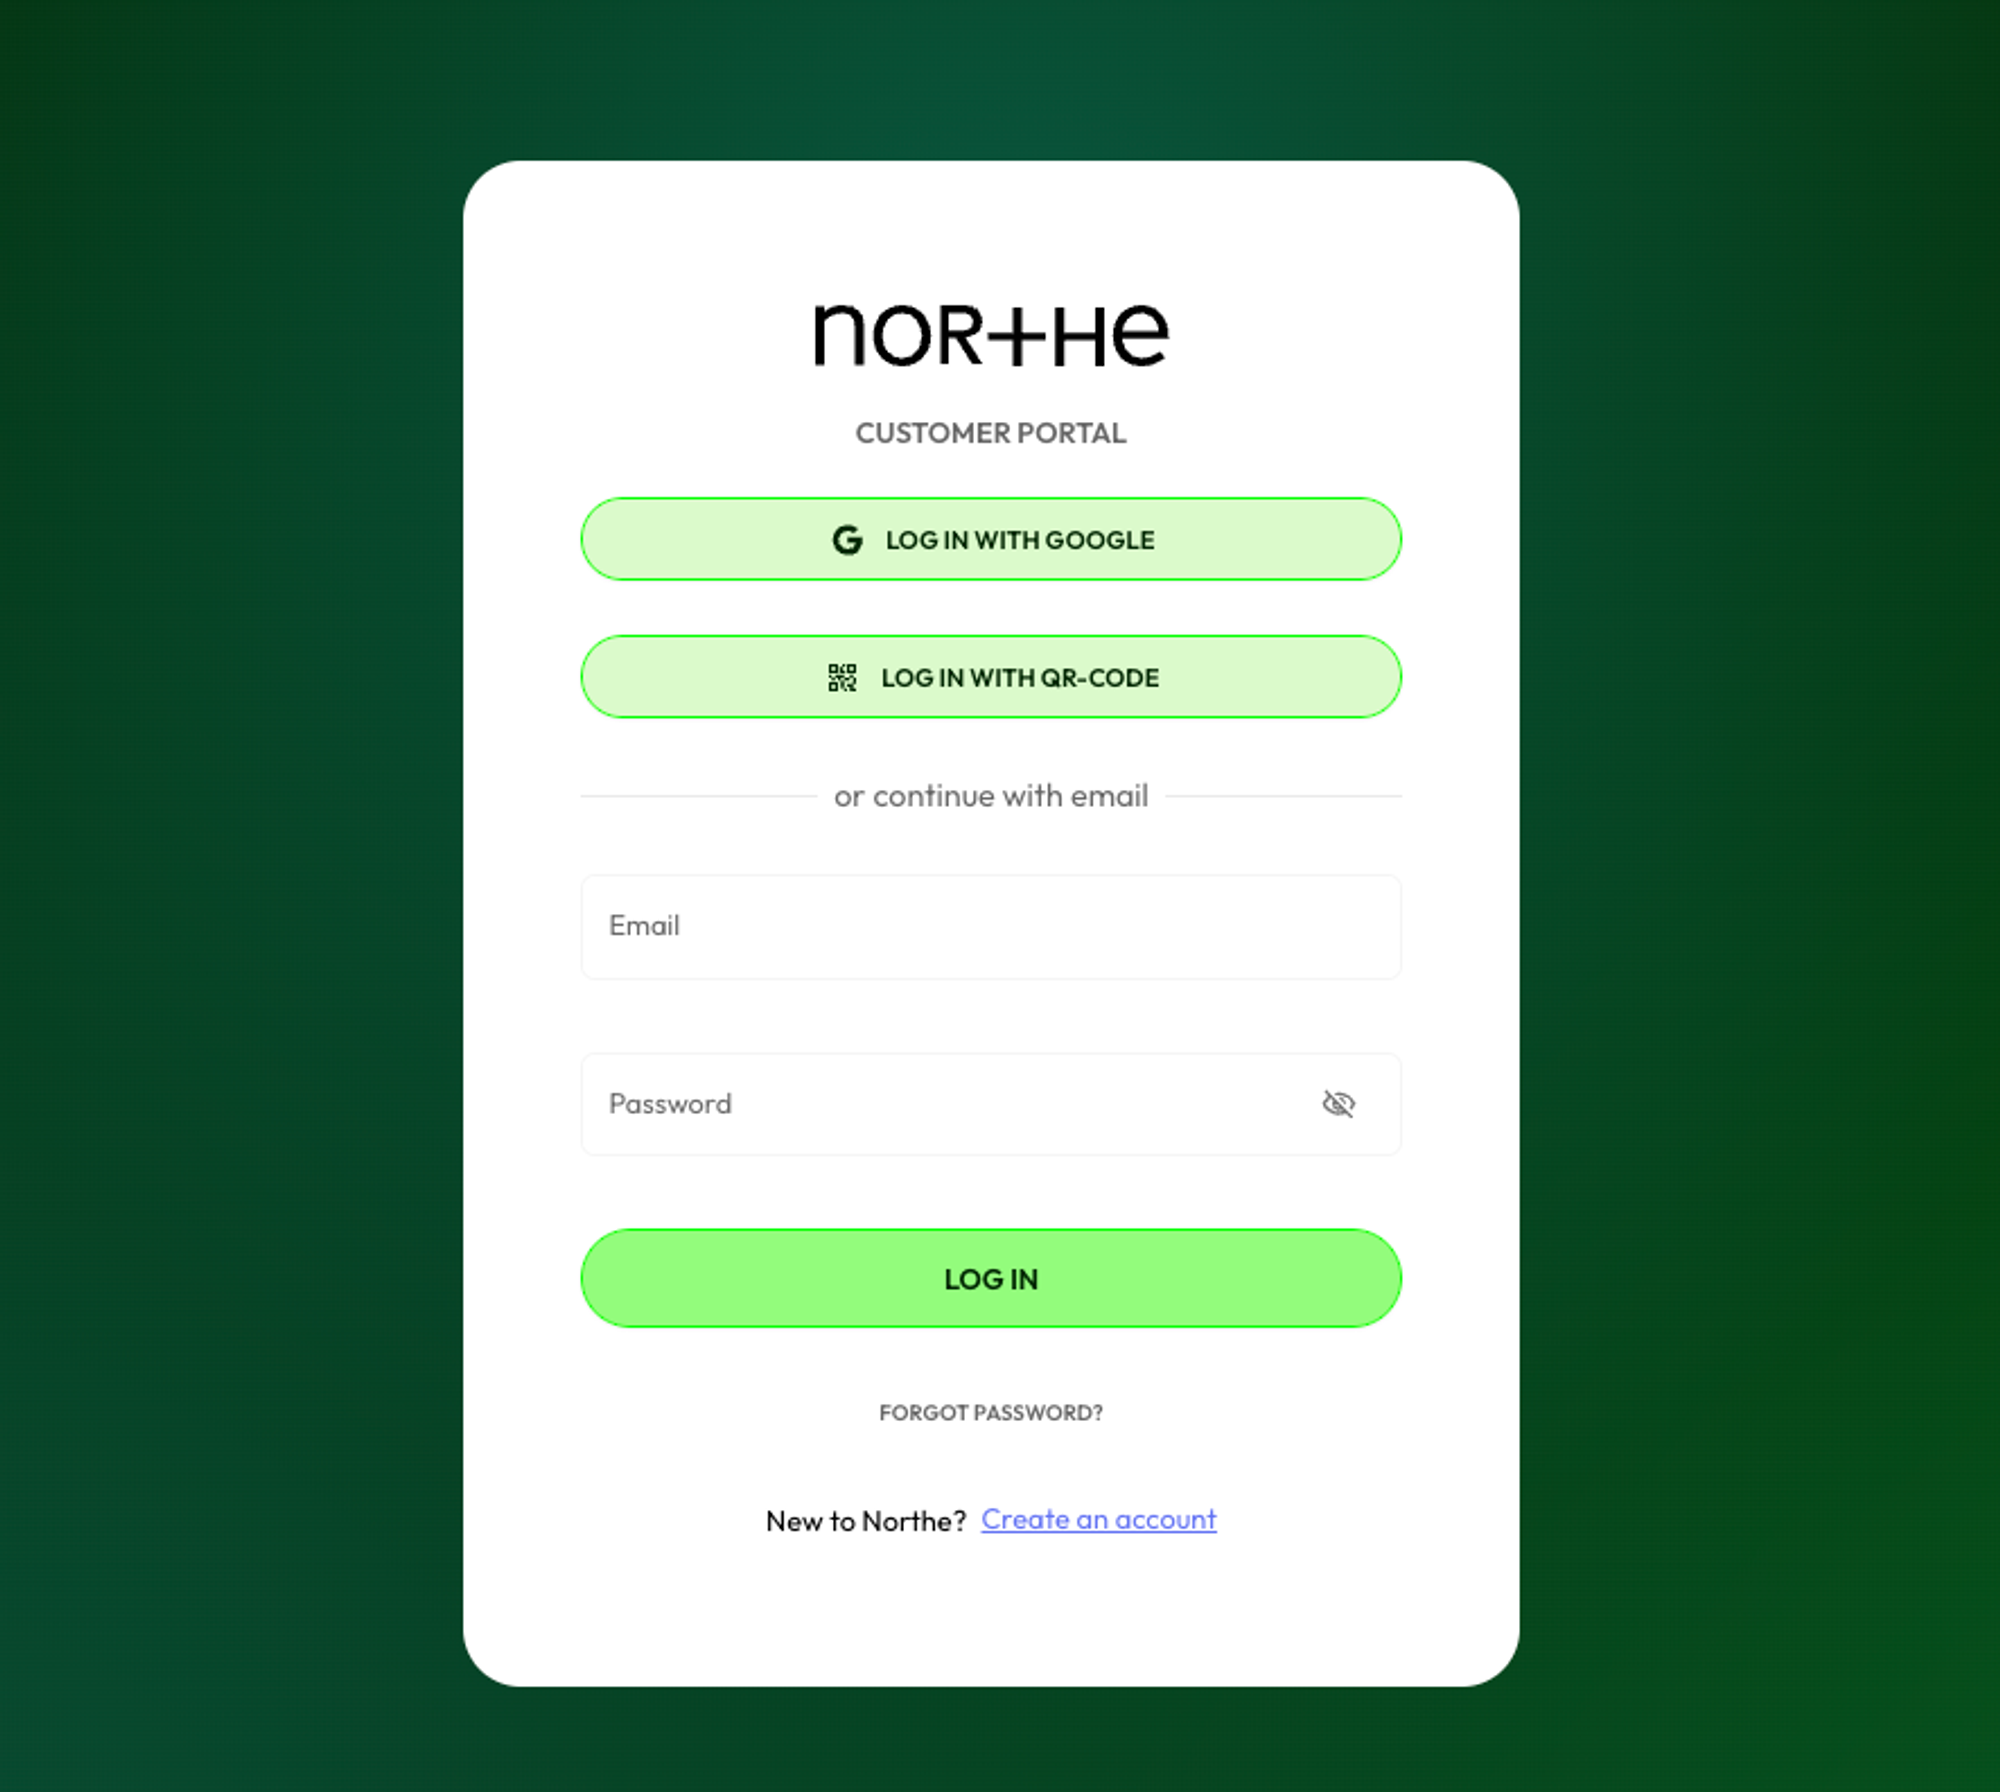
1. Log into your fleet account
To log in, visit https://northe.app/account/login and enter your email and password. If this is the first time you are signing in, your password will default to your fleet member ID.
2. Go to Charge boxes
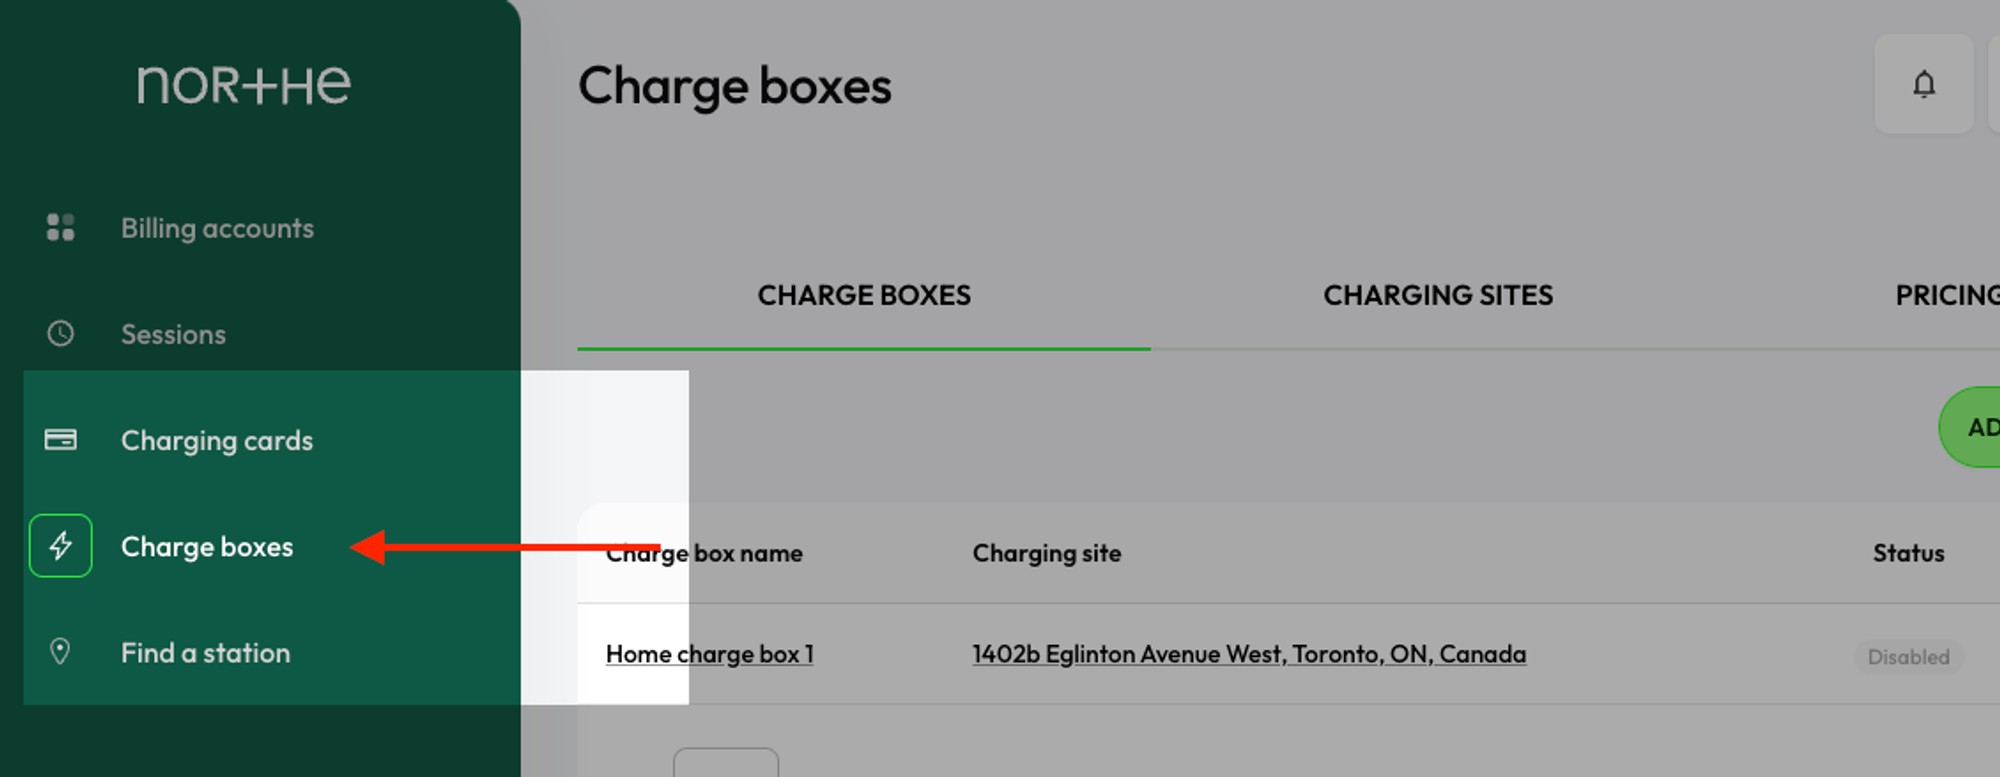
You should now be logged into your Northe account, on the left-hand side, click on “Charge boxes”.
3. Add a new charge box
To add your first charge box, click on the “NEW CHARGE BOX” button:

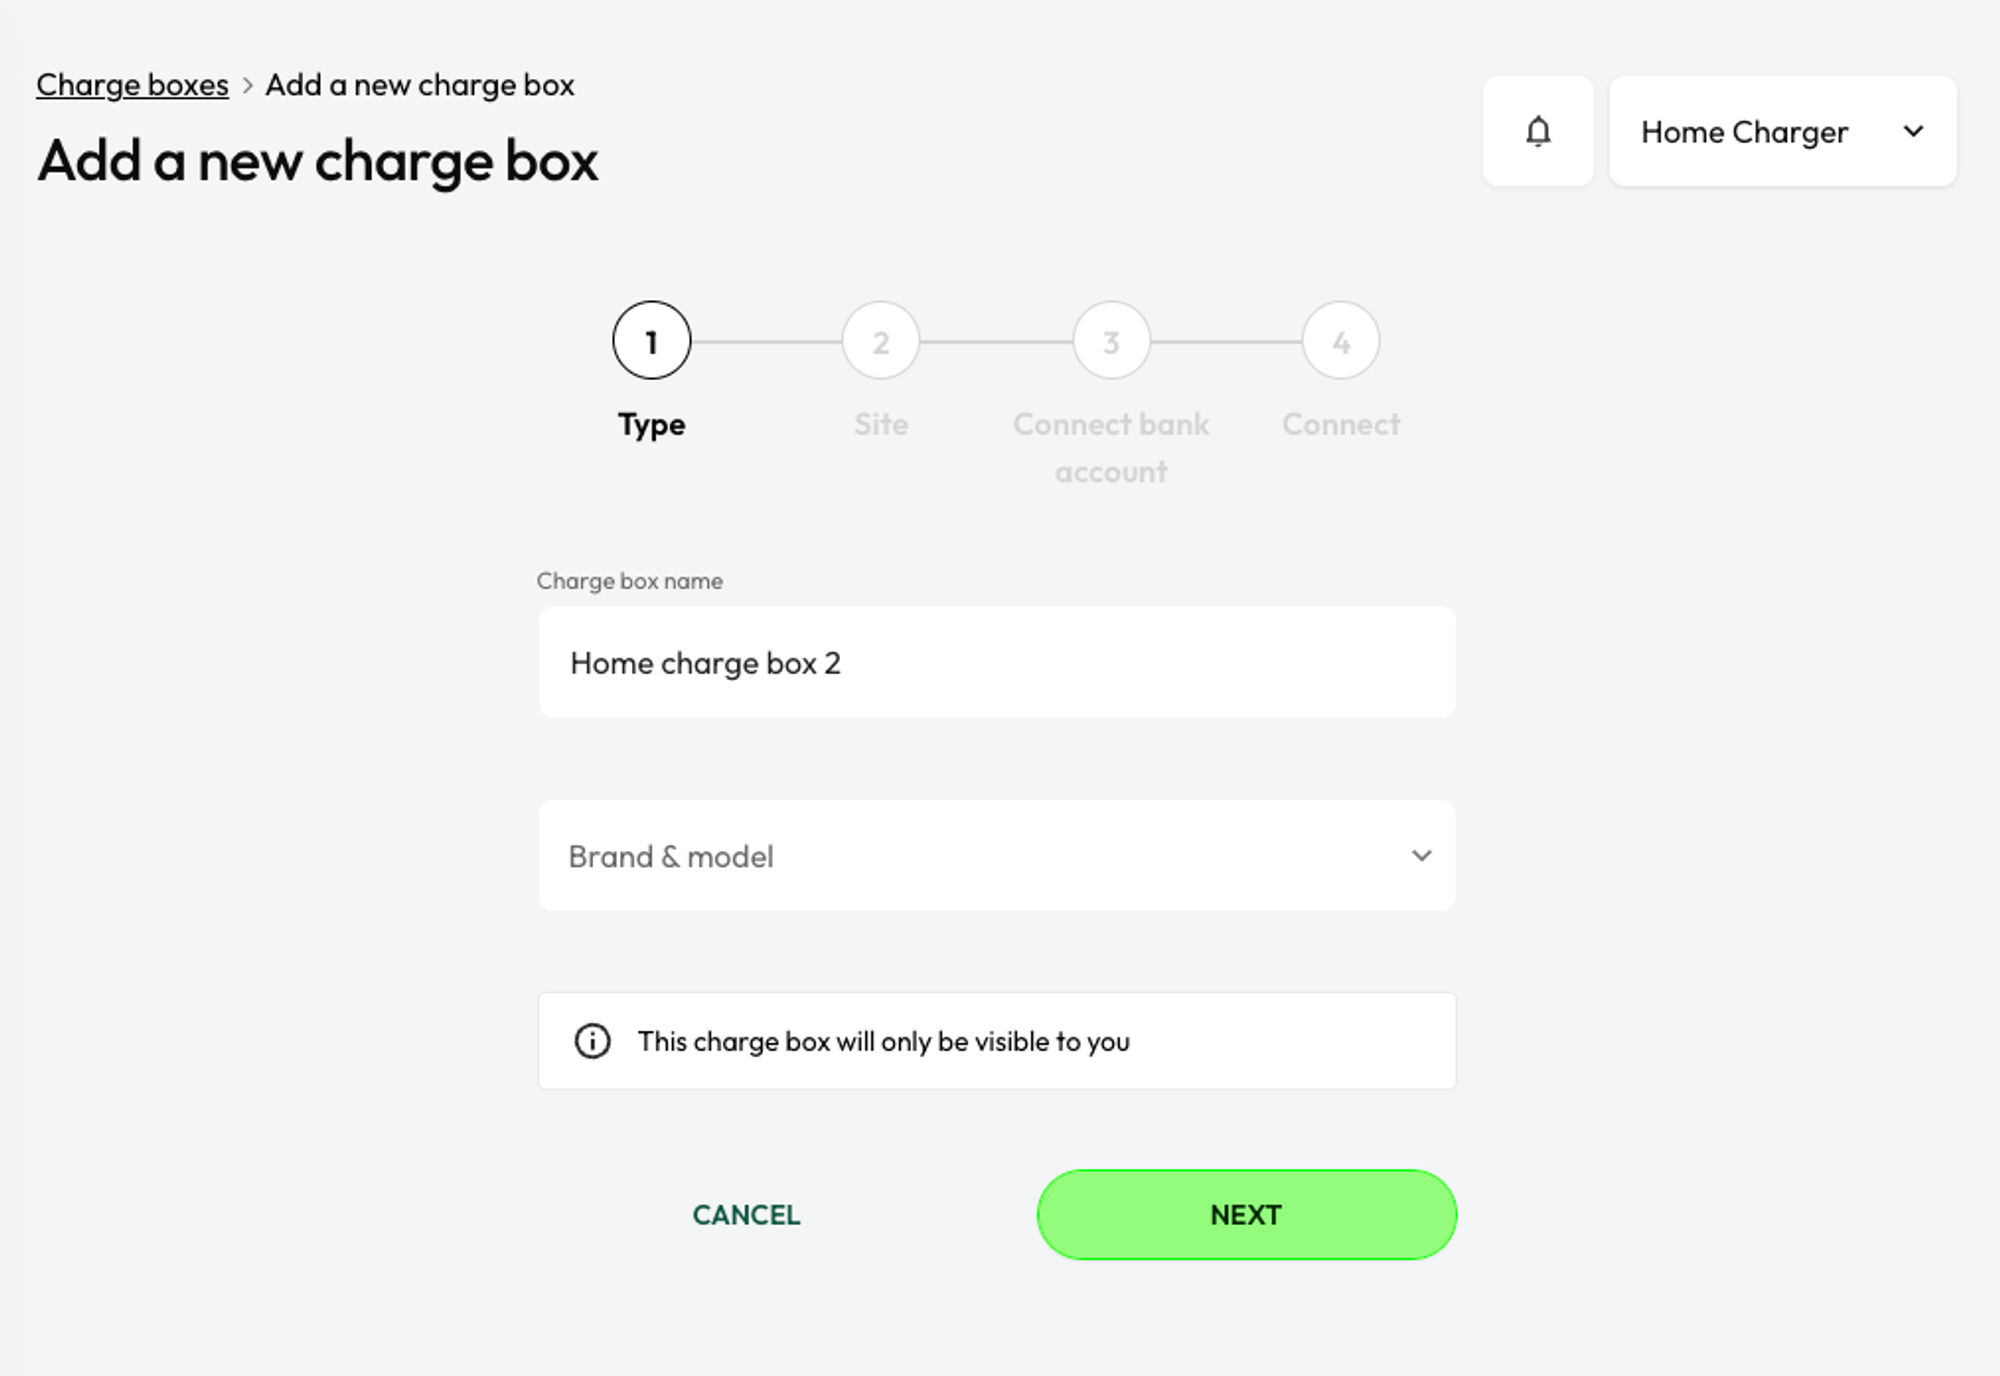
4. Add a name for your charge box and select the model
In the first step, fill in all of the information and click on “NEXT”
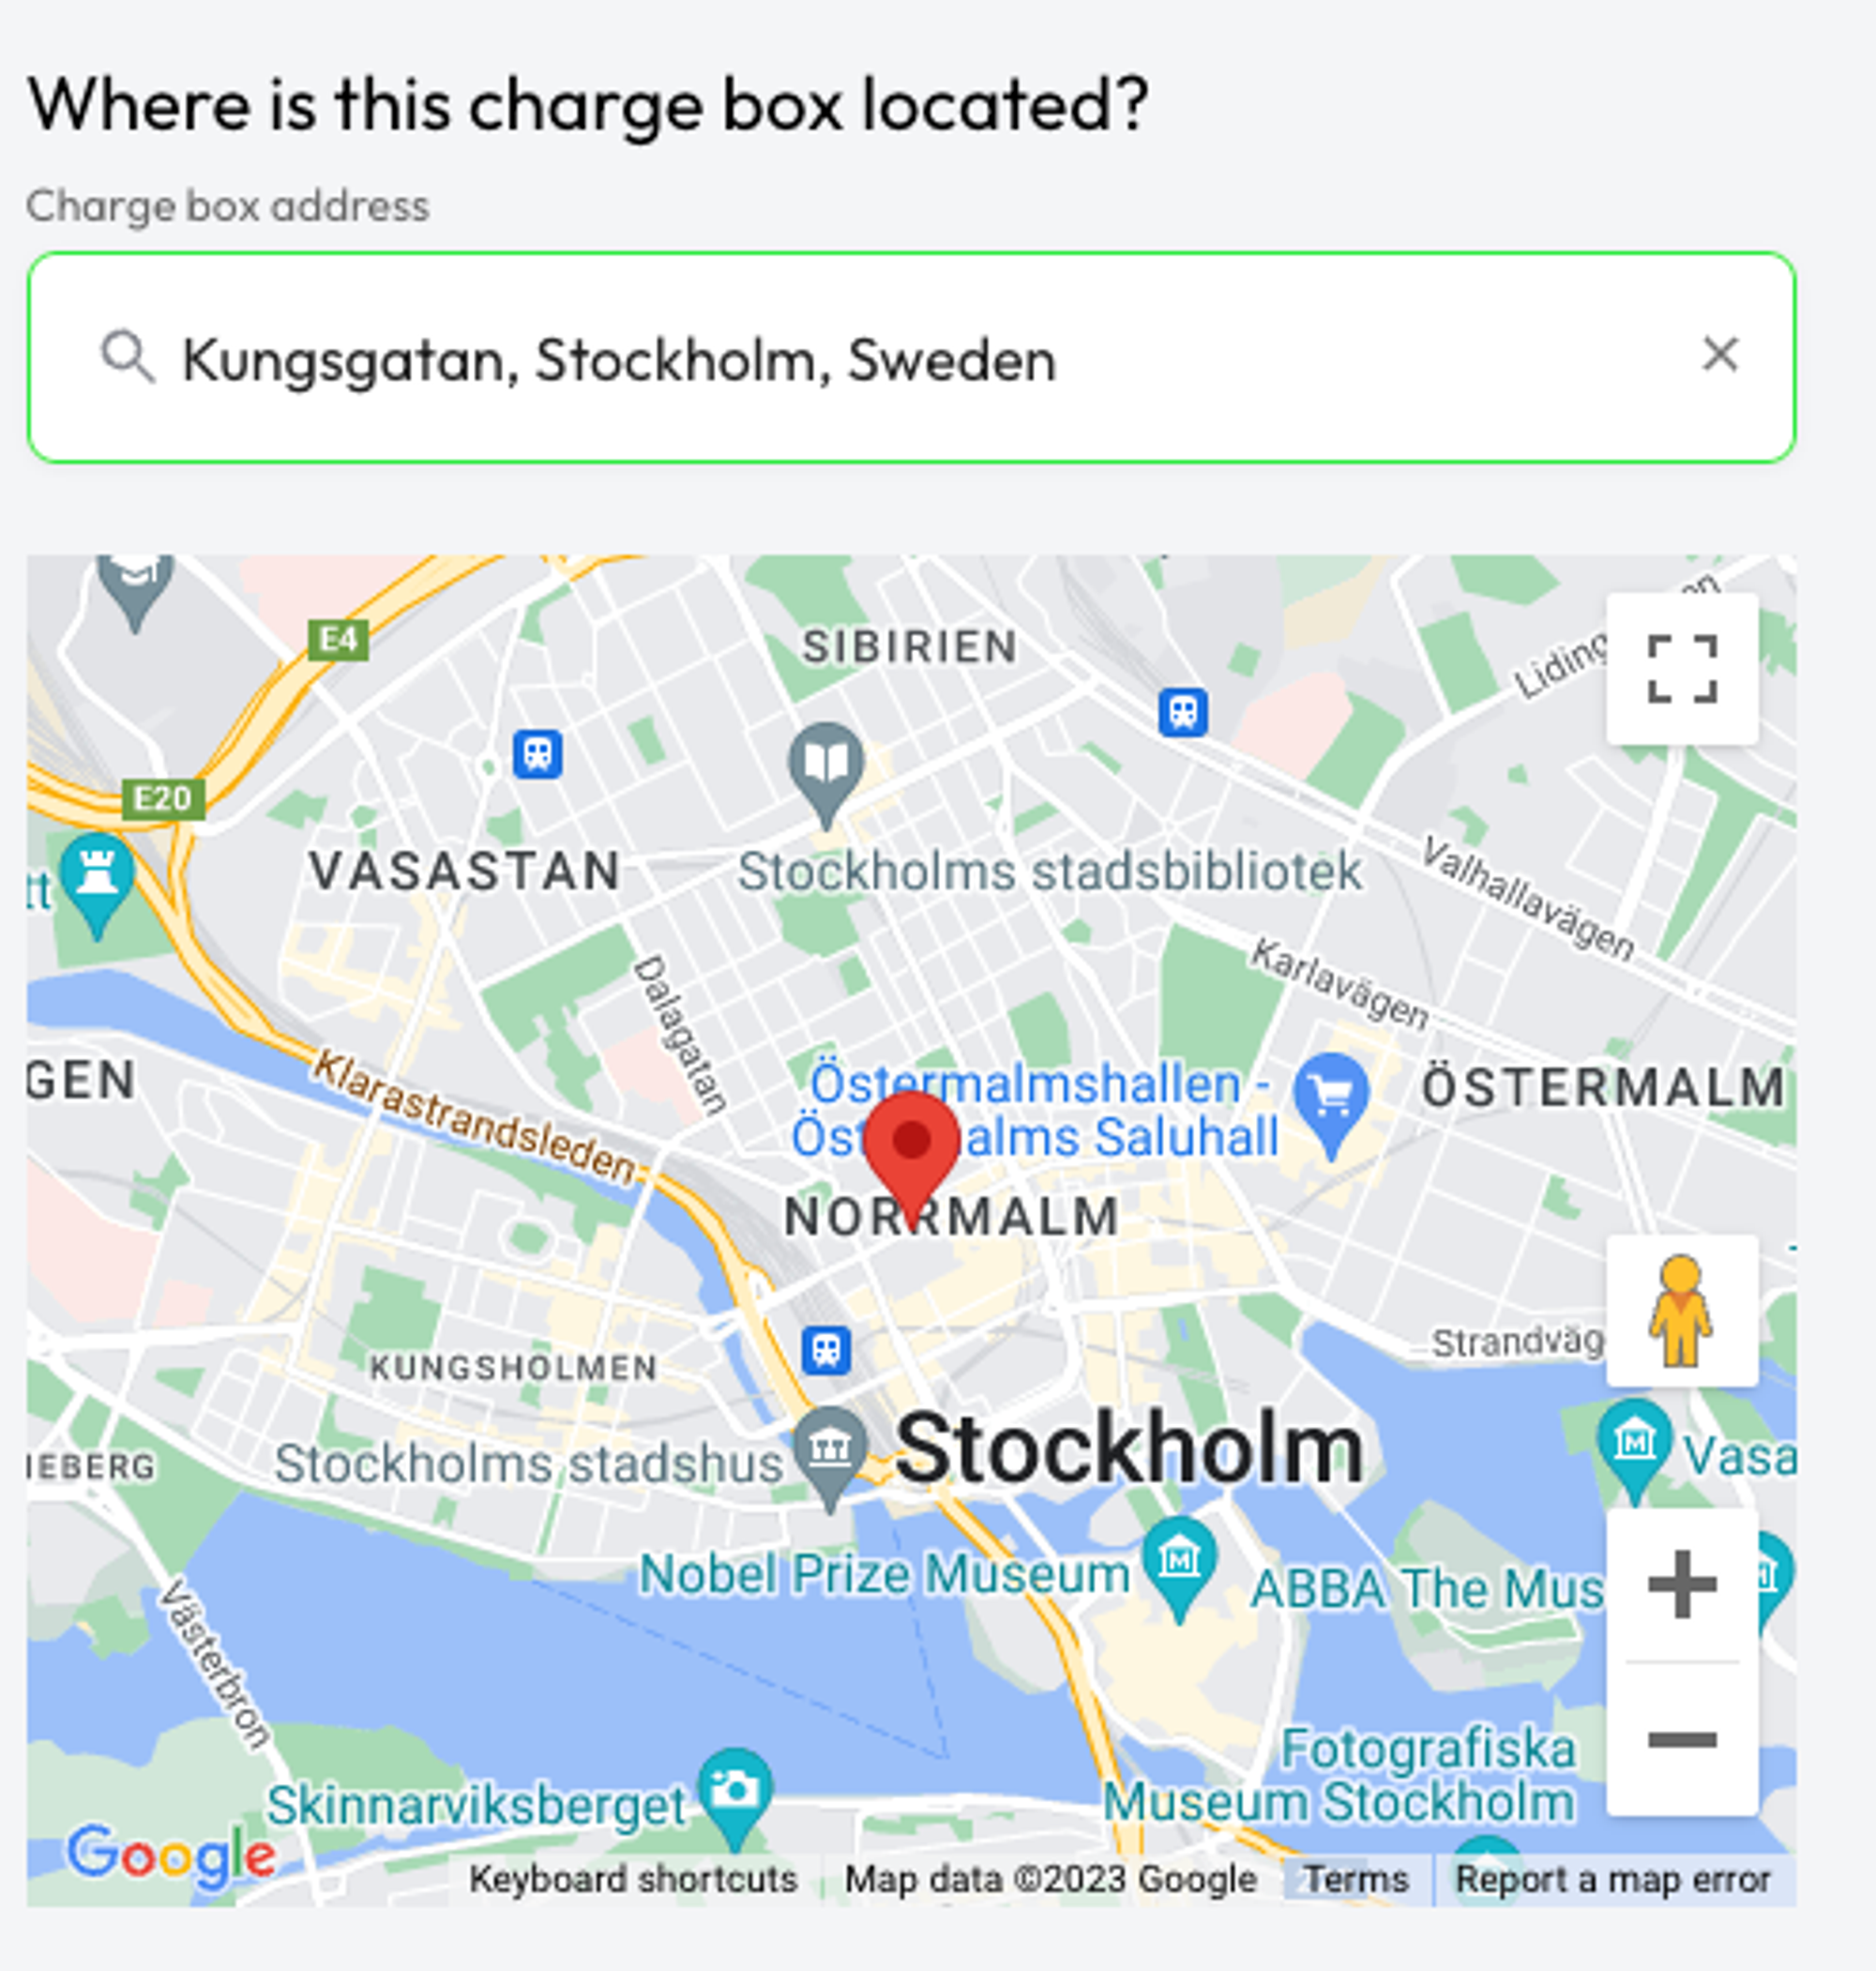
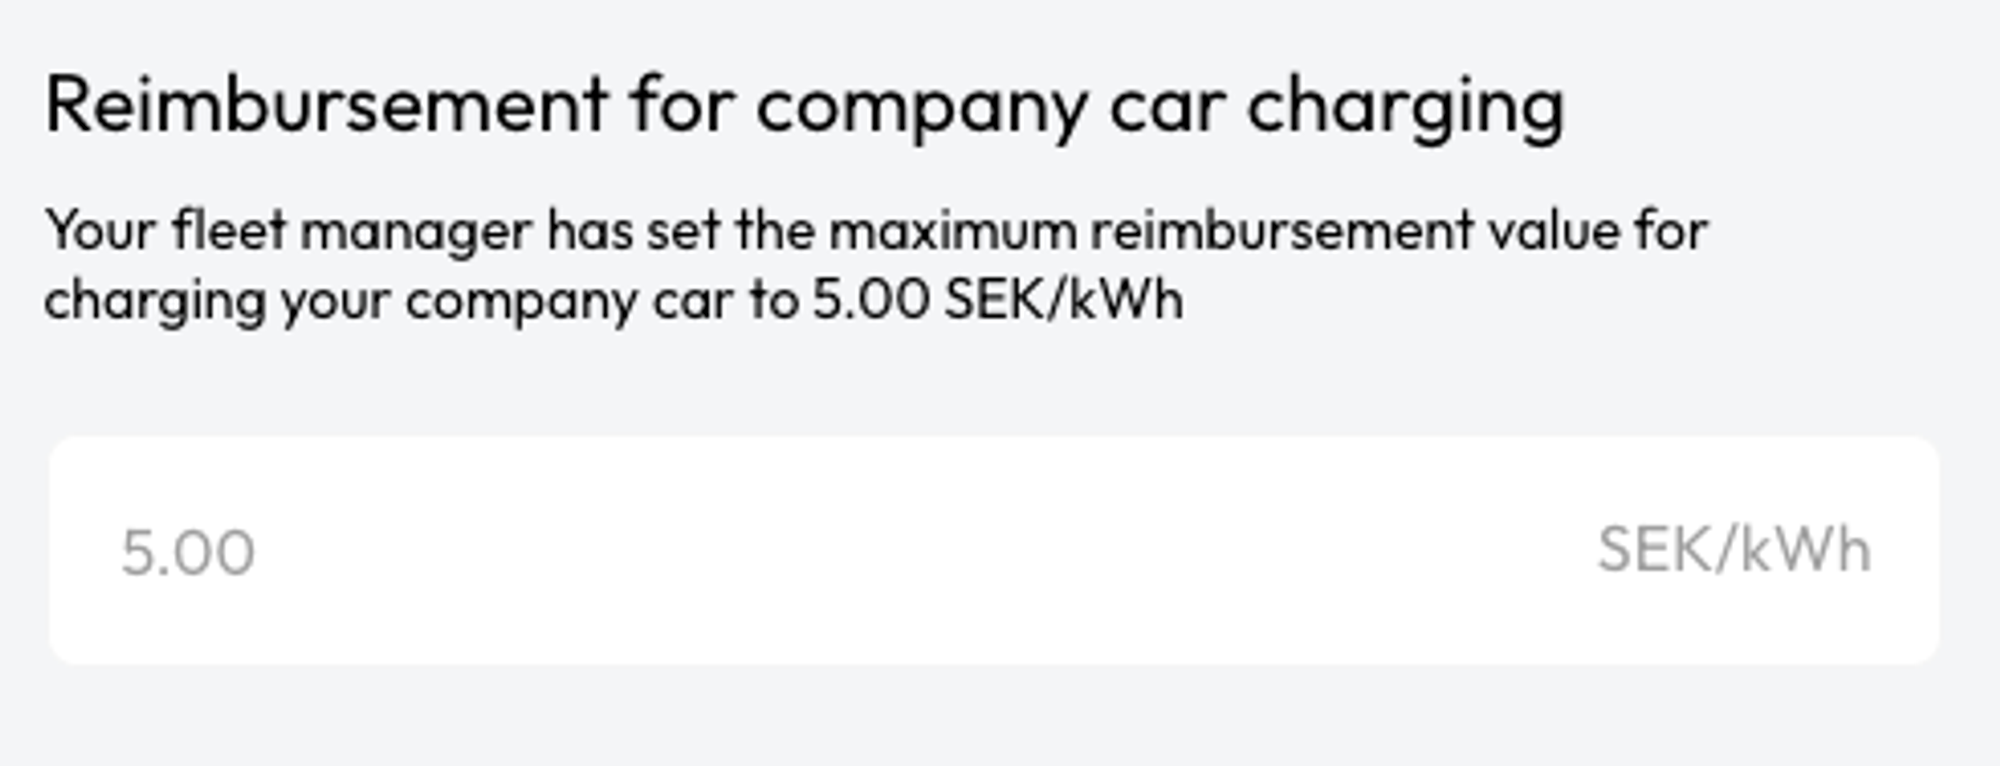
5. Add the location for your charge box and view your fleet’s maximum reimbursement per kWh
On the next screen, you need to select a charging site or create a new one. Underneath the map, there is information about the maximum reimbursement per kWh set by your fleet administrator for charging your company car.
6. Connect your bank account
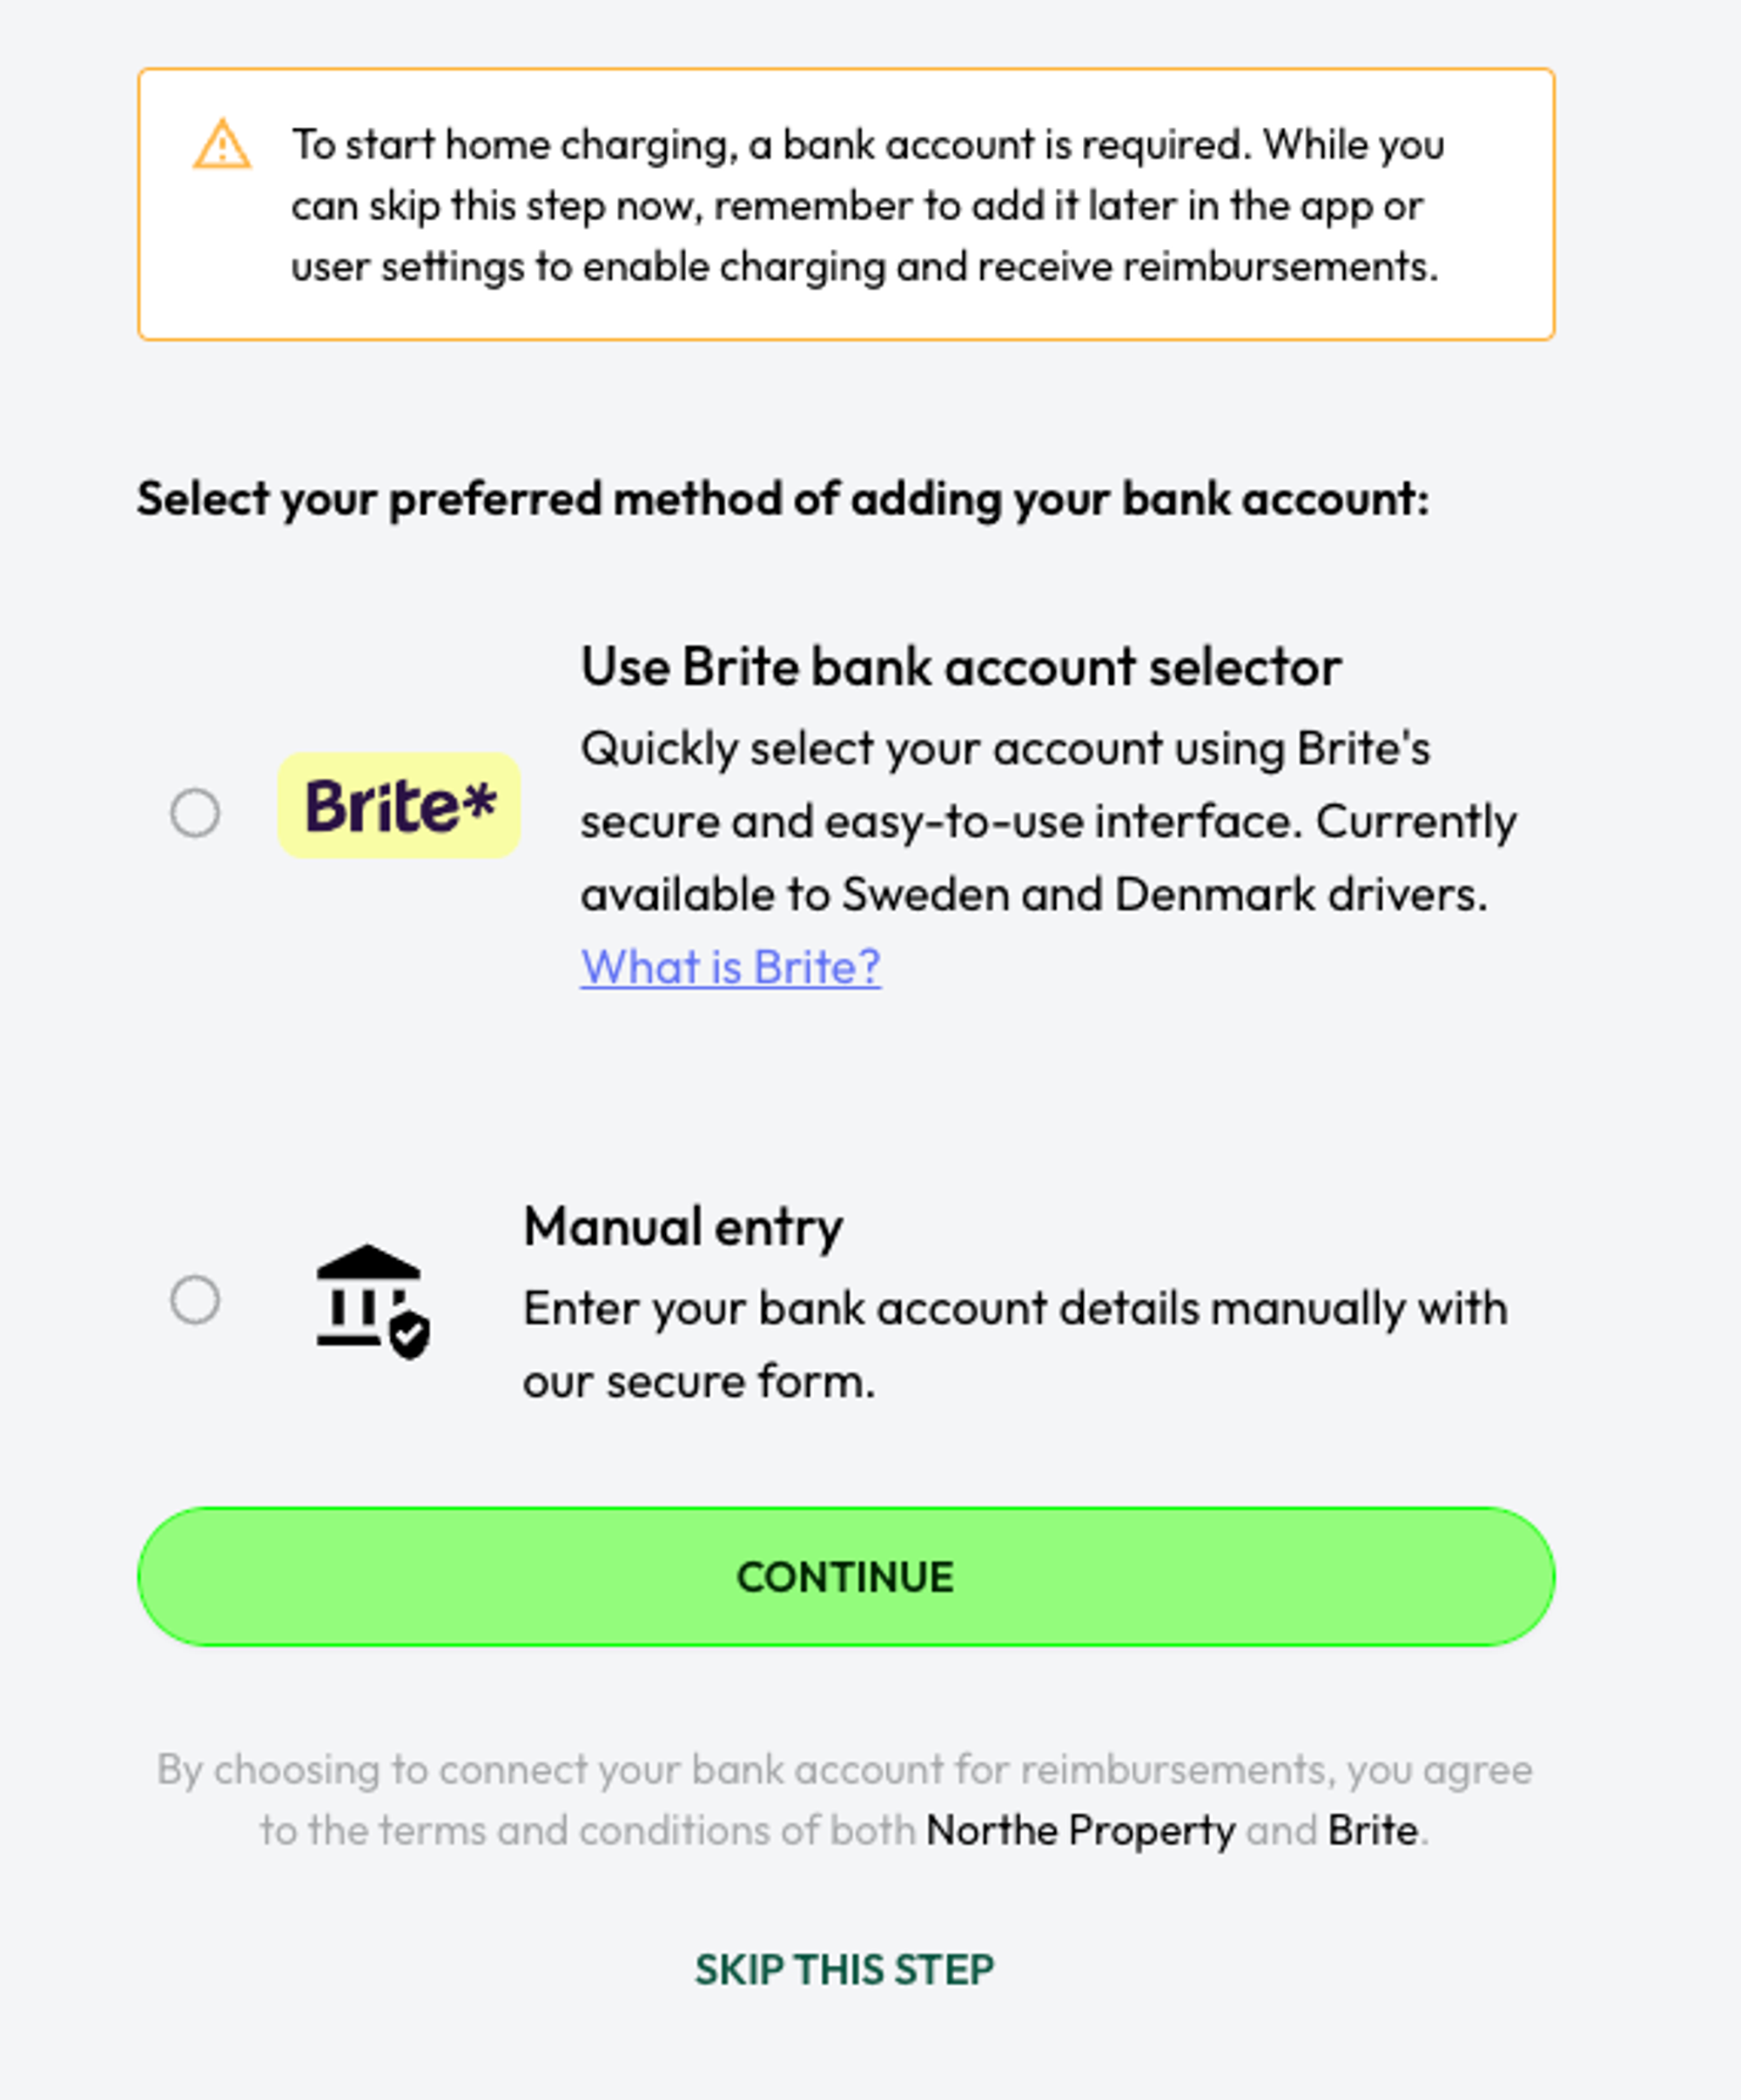
To start charging on your home charge box and receiving reimbursements, you must connect your bank account. You can skip this step and come back to it later in your User Settings or you can set it up in the Northe app as well. If you do not connect your bank account you will not be able to charge your car.
7. Connect your charge box serial number
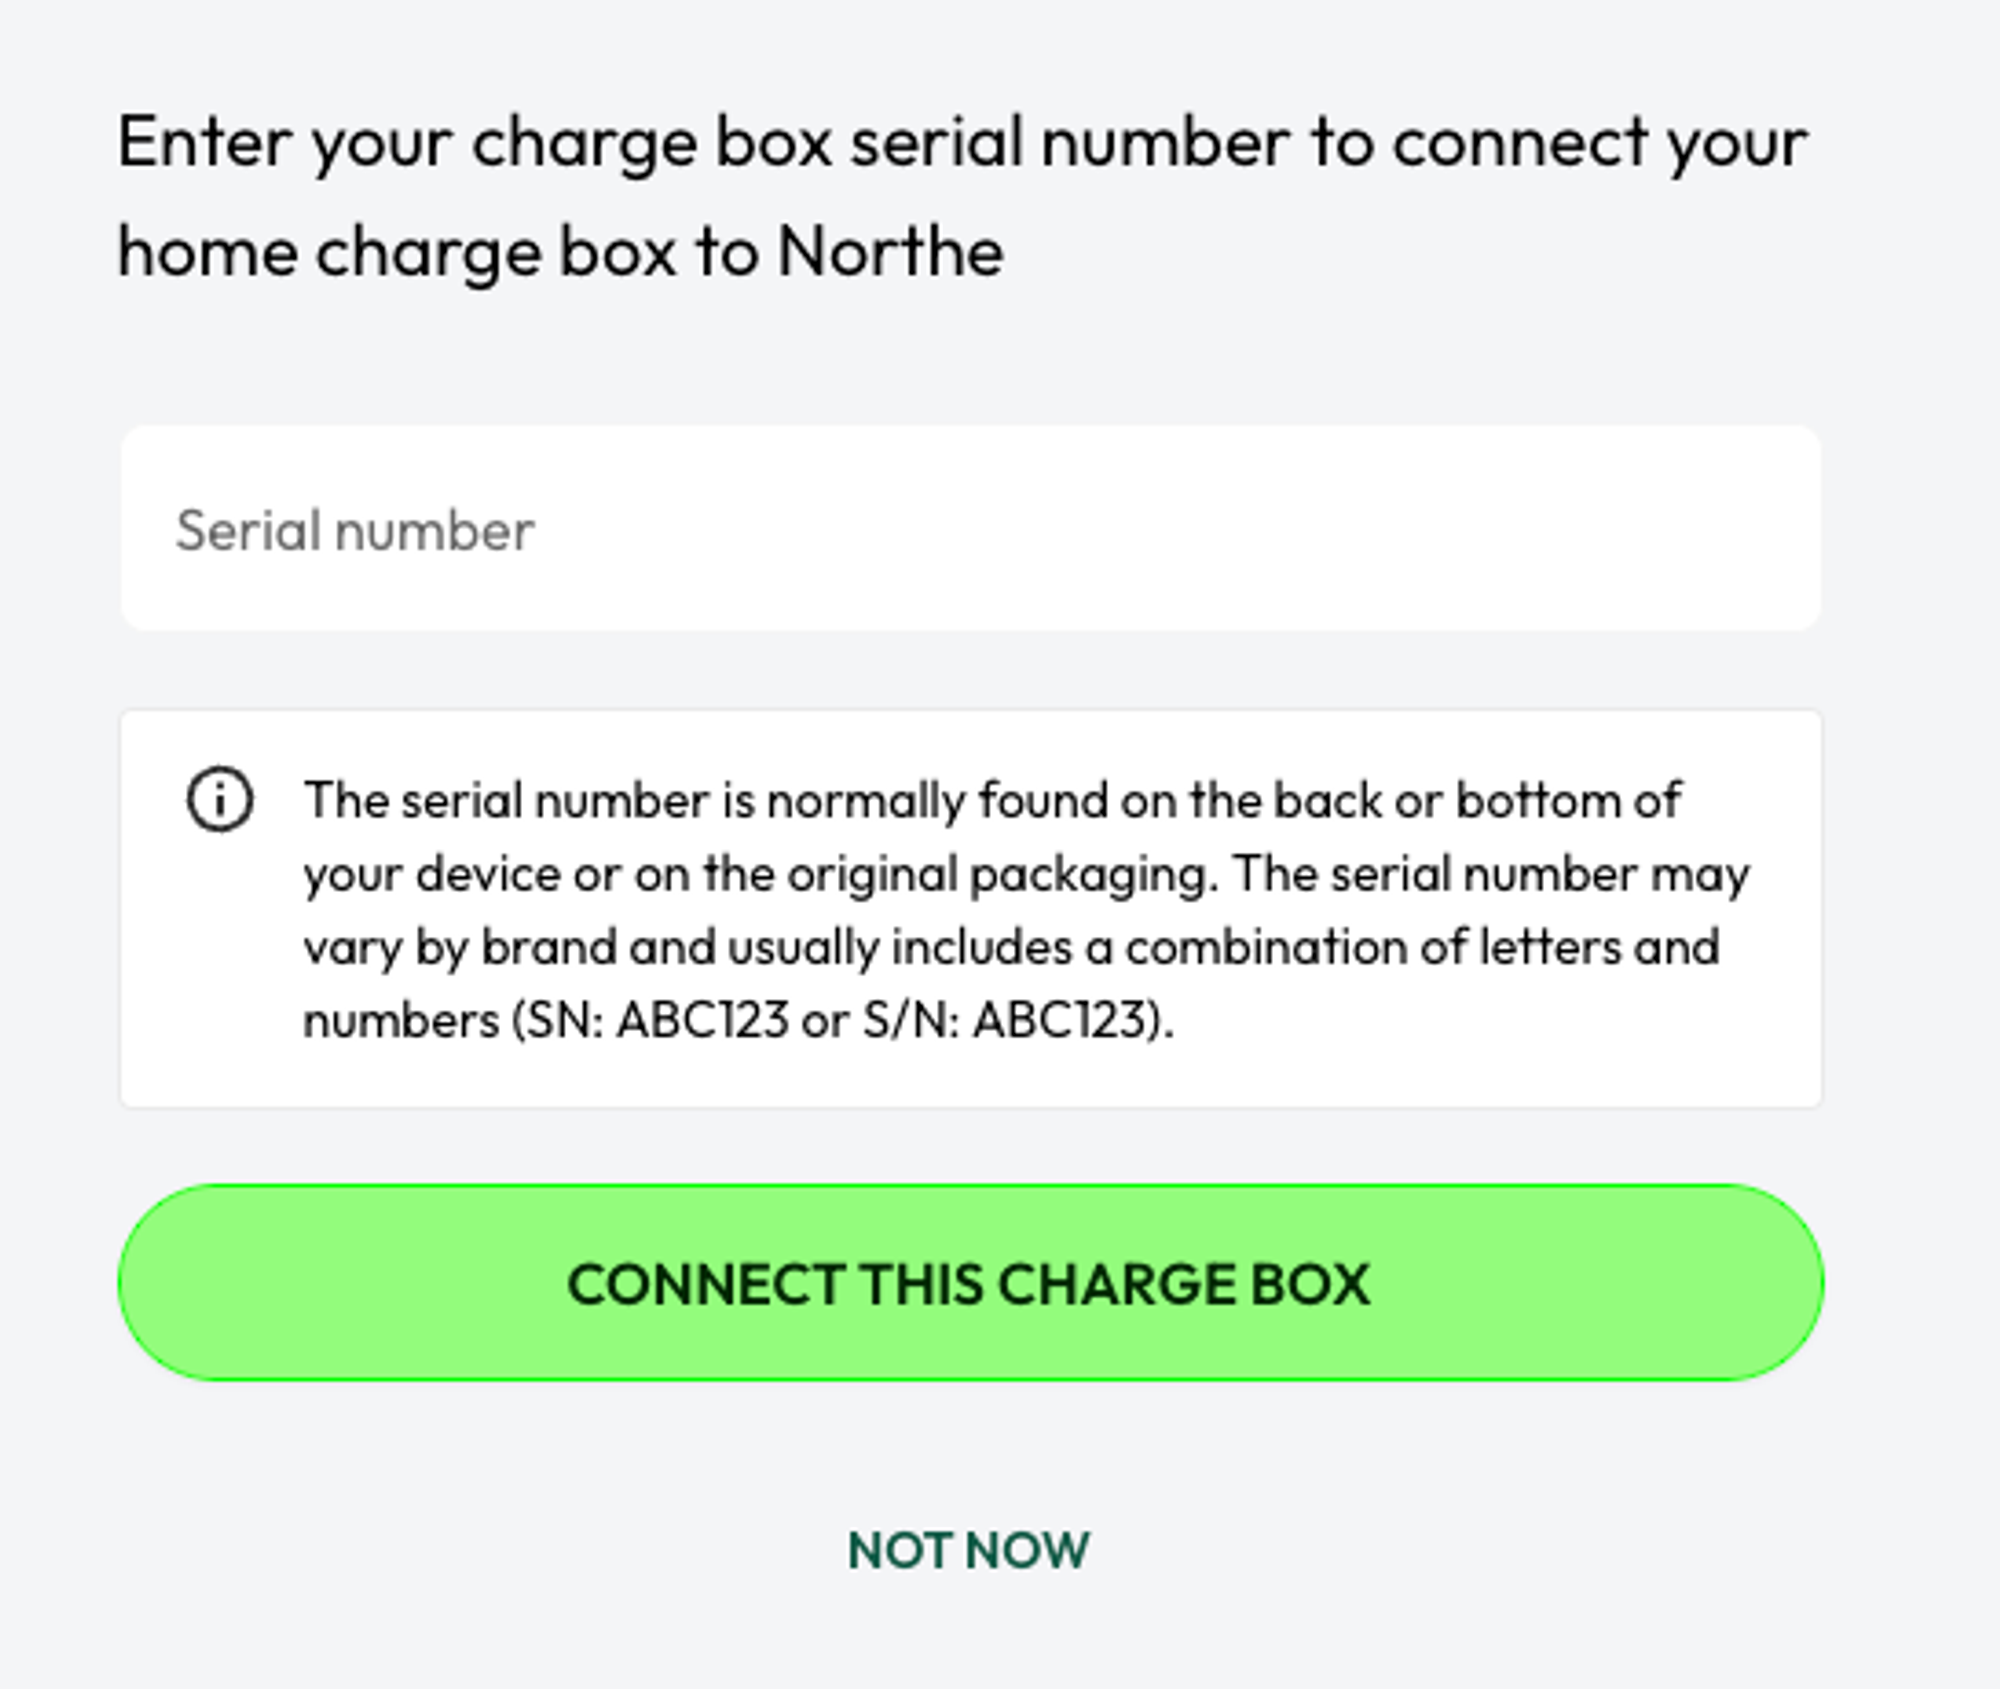
Your new charge box has been added to Northe! Now it’s time to connect it so you can start charging. Depending on your charge box model, you will need to enter a Serial Number or Manufacturer ID and PIN code. Once this is done, click on “CONNECT THIS CHARGE BOX”.
8. You’re all set!
Congratulations! Your new charge box is fully configured and ready to charge your electric vehicle. You can click on “BACK TO CHARGE BOXES” to go back to view your charge boxes.

